Nielsen Documentation
Page settings & Layout manager
By now your site has the look and feel of a true Nielsen theme.
In this section, you will learn all about the Nielsen customization to make your site like the demo without to use our sample data. I suggest you going to our support forum and watching our videotutorials.
Use the Page Settings panel
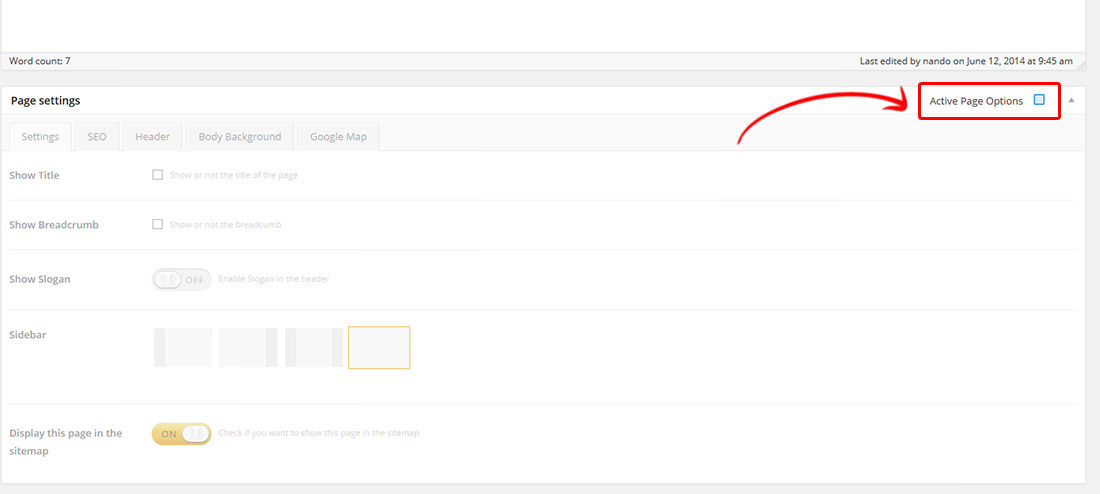
In Pages open a page. Under the editor you can find the "Page settings" panel. Active it to customize the page:
Then in the Settings tab you can:
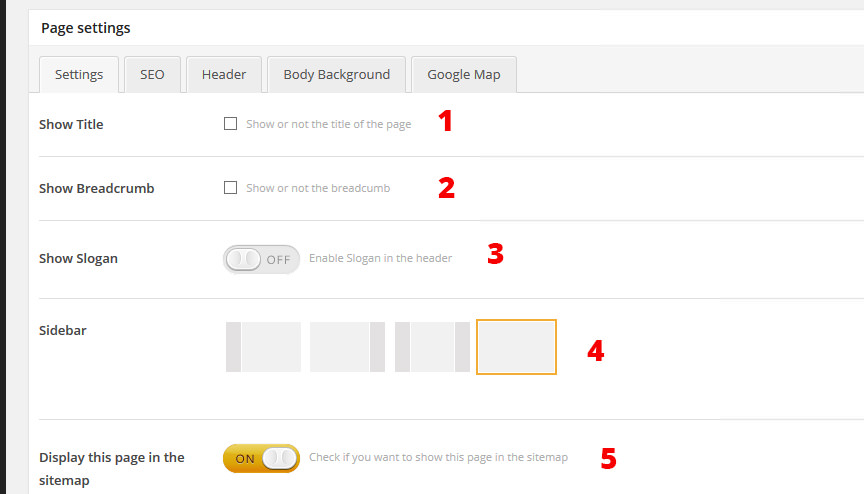
- Turn on/off the title of the page
- Turn on/off breadcrumb of the page
- Add a slogan (if click on "on" you can enter the text. Add a word inside the square parenthesis to make it with a different color)
- Set the layout of the page: no sidebar, double sidebar, sidebar left, sidebar right. Choose the sidebar you want to show in the page
- Choose if add or not this page in the sitemap
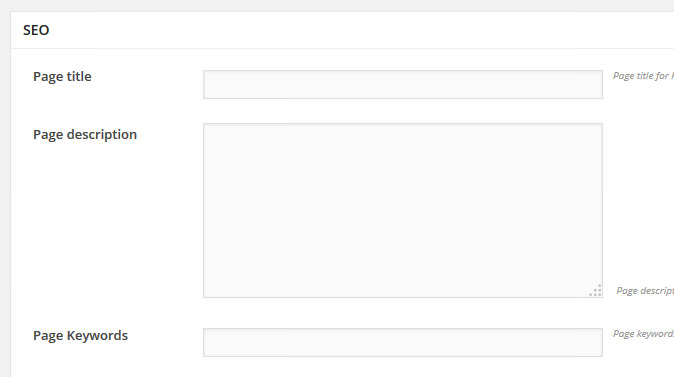
Then in the SEO tab you can:
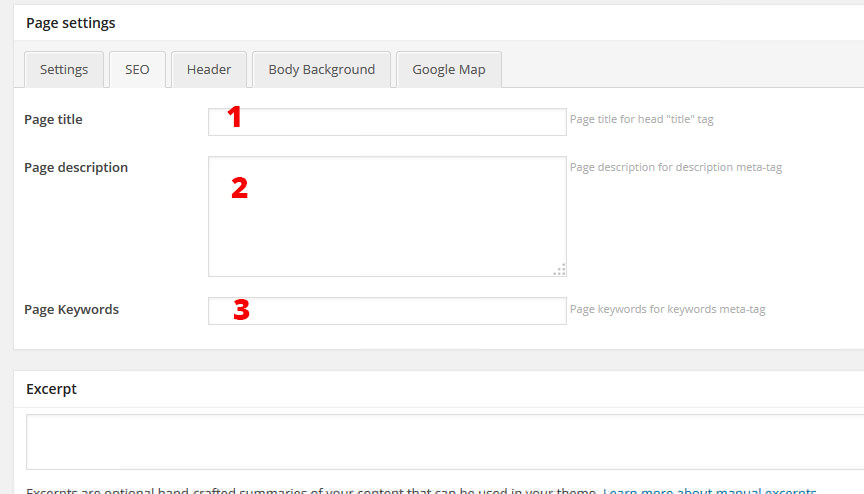
- Enter the title of the page
- Enter a short description
- Enter some keywords for the page
In the header tab you can:
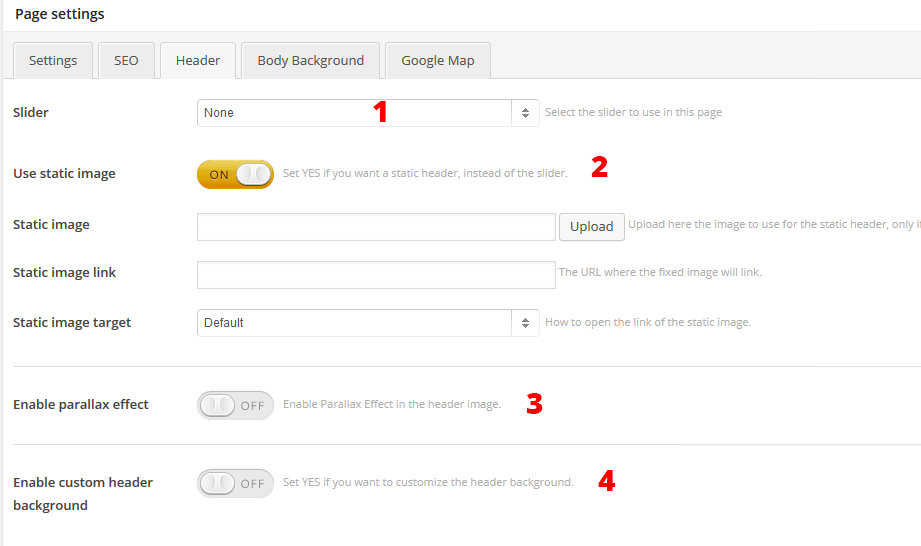
- Set a slider for this page. Set "none" if you want a static header
- Set a static image. If you turn on this option, you can upload an image for your header and add an url if you want to add a link to the image
- Activate the parallax effect on this header image, to have a parallax header. If you turn on this option you can add a text under the header
- Add a custom background for your header (the section where you have the logo, the menu the navigation and the cart). If you turn on this option you can upload a custom image for your header.
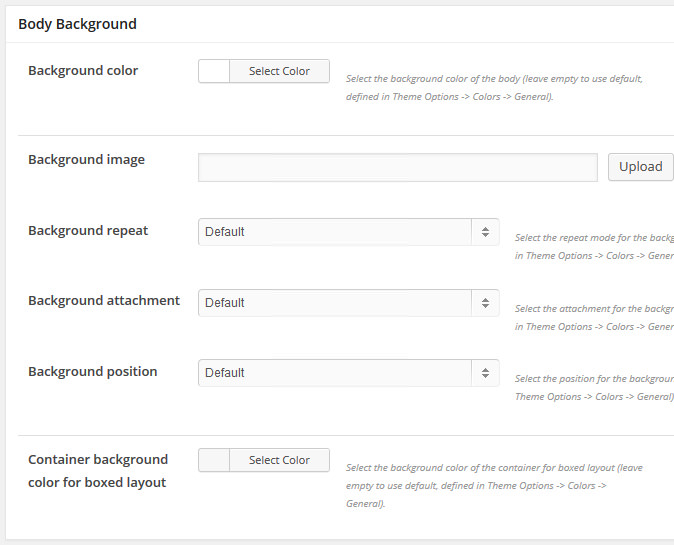
In the Body background tab you can:
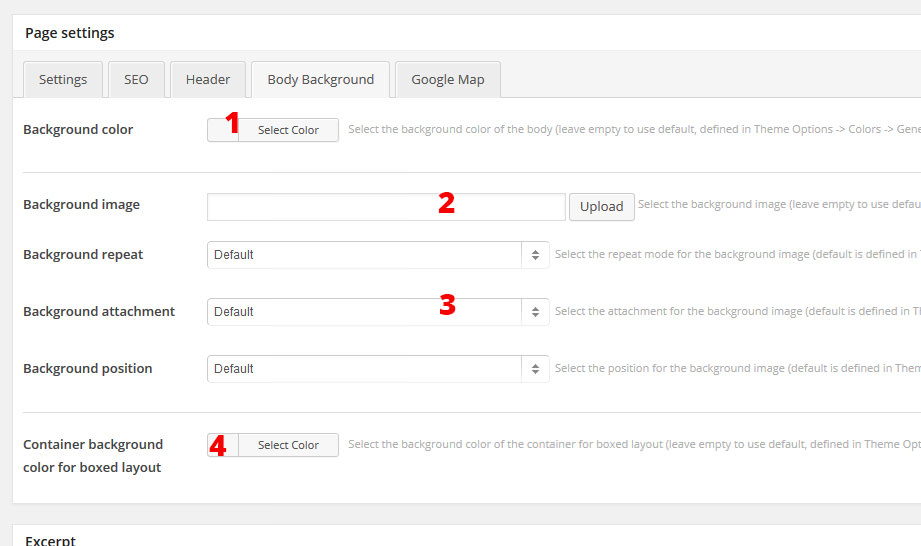
- Set a background color for this page, and choose the color using the color picker
- Upload a background image
- Set the position and other settings for this image (set "repeat" if you use a pattern, and "fixed" if you want that the background image stay fixed without to scroll, etc..)
- If you use the boxed layout you can set also the background color for the body of the page.
In the Google map tab you can:

- Add the url of the map (you have to take this url from the google map site)
- Choose if you want to add a box under the map and enter the text for this box
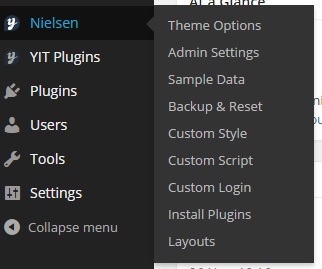
Use the Theme Options panel
In Nielsen > Theme options you can find the panel to customize the theme and to manage the general settings.
In the General > Settings page:
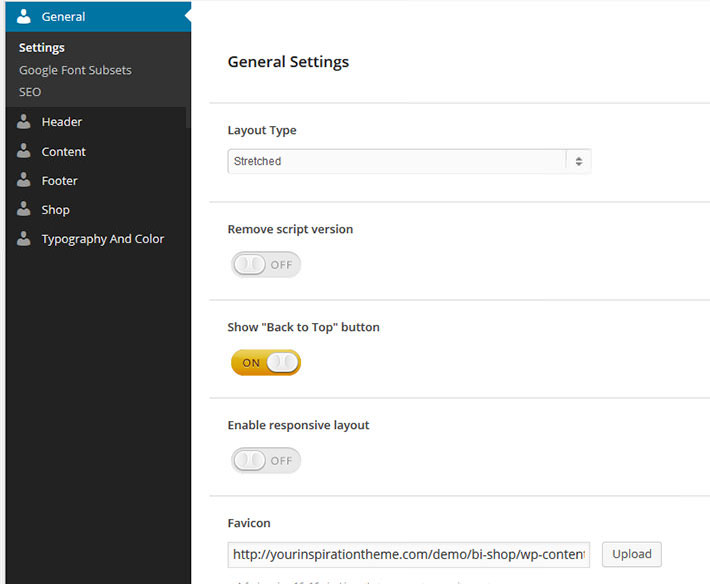
you can:
- Set the layout for your theme: boxed or stretched (wide)
- Activate the "back to top" button
- Turn on/off the responsive version for mobile devices
- Upload your favicon image
- Turn on/off the default wordpress bar on the top
- Turn on/off comments from the pages
- Turn on/off border to sidebar
- Turn on/off Open Graph
In the other tab of the General page you can enable the SEO features and manage the Google fonts subset (latin, cyrillic fonts, etc.)
In the Header page:
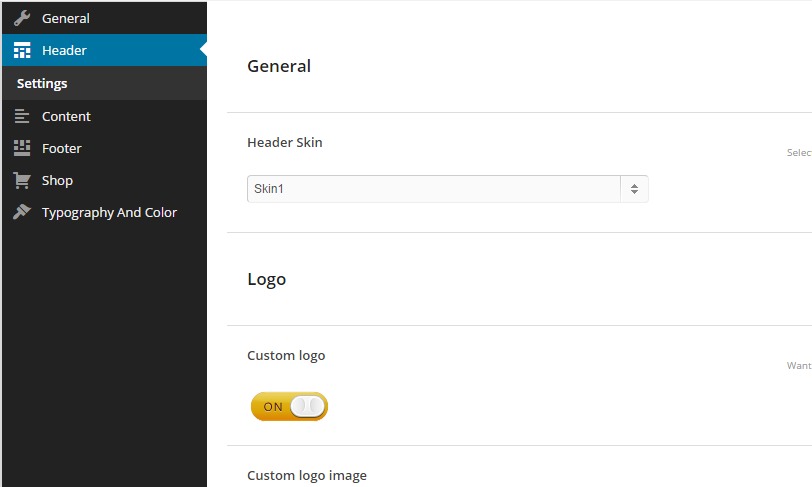
you can:
- Set the header skin: if you want the menu near the logo or the logo centered
- Choose if you want the sticky header or not
- Choose if you want the search box and the position
- Turn on/off the 'Shop by category menu' and relative options
- Upload a custom logo (if you don't want to use a logo image turn off this option and make a logo using a font in the typography panel)
- Turn on/off the logo tagline (is the site description you can enter in Settings > general)
- Turn on/off the topbar
- Turn on/off options for ajax search ( image and price )
In the Content page:
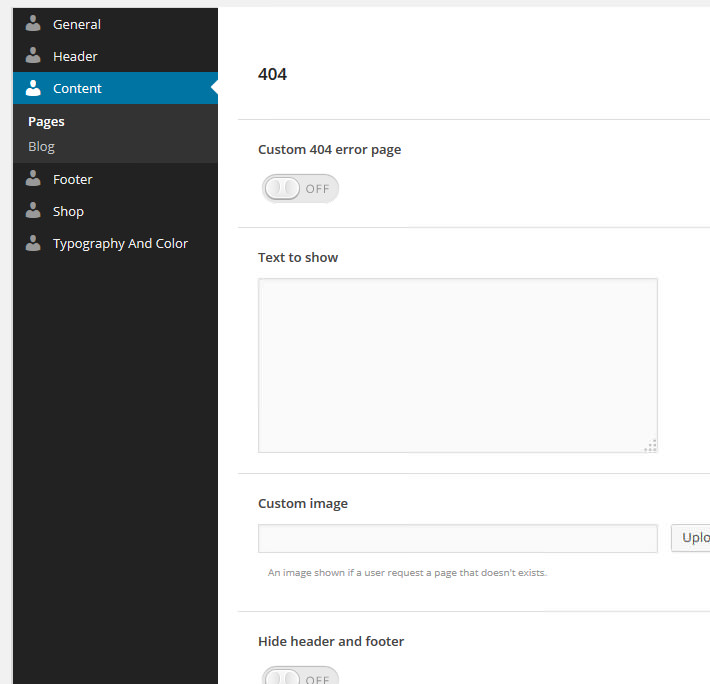
you can:
- customize the 404 error page: add text, upload an image and so on
- manage the settings for your blog: the layout, the layout for the post detail page, how many article to show and so on.
In the Footer page:
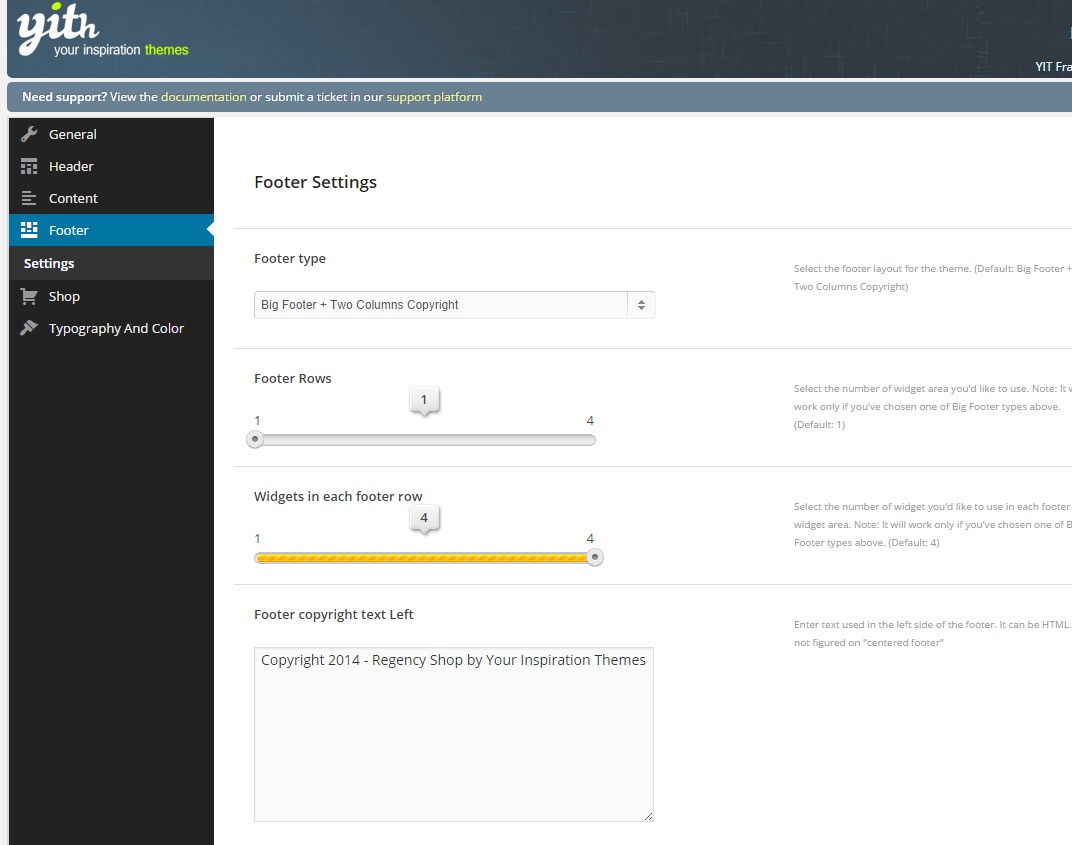
you can:
- Set the footer type
- Set how many rows add to the footer
- Set how many widget add in each row
- Enter content for the copyright area
In the Shop page:
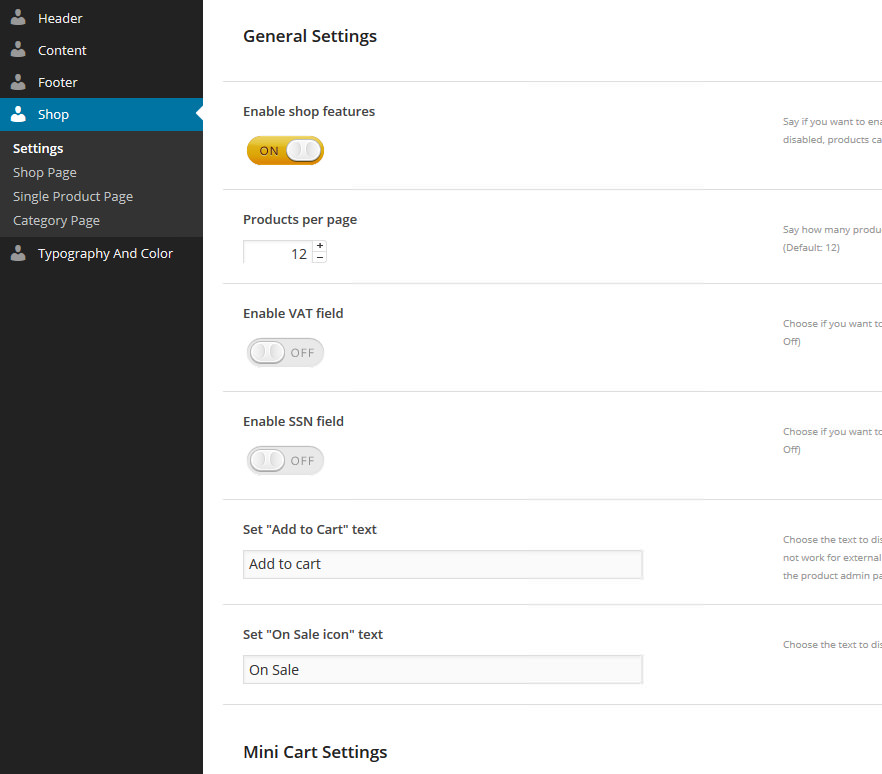
you can:
- Enable the shop features (or use the theme in "catalog mode")
- Set how many products display per page
- Enable VAT and SSN field
- Customize text for add to cart and on sale
- Upload a custom icon to replace the cart icon
- Customize the shop page
- Customize the product detail page
- Customize the category page
In the Typography and Color page:
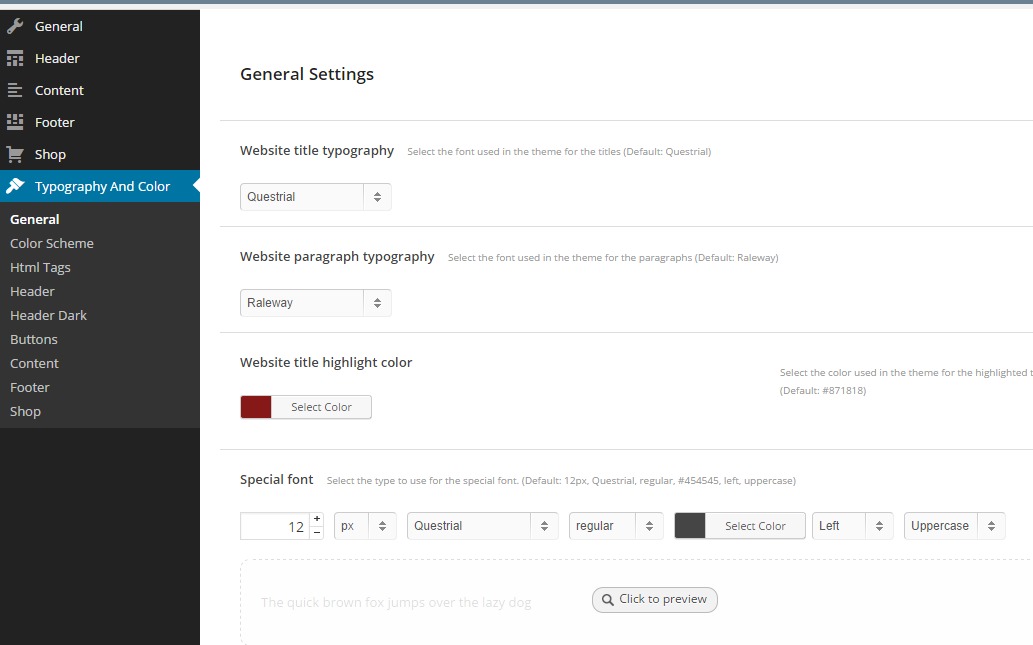
you can:
- Customize the typography of the theme
- Set the basic color scheme
- Customize colors for each section
Use the Layouts manager
In Nielsen > Layouts you can find the Layouts manager:
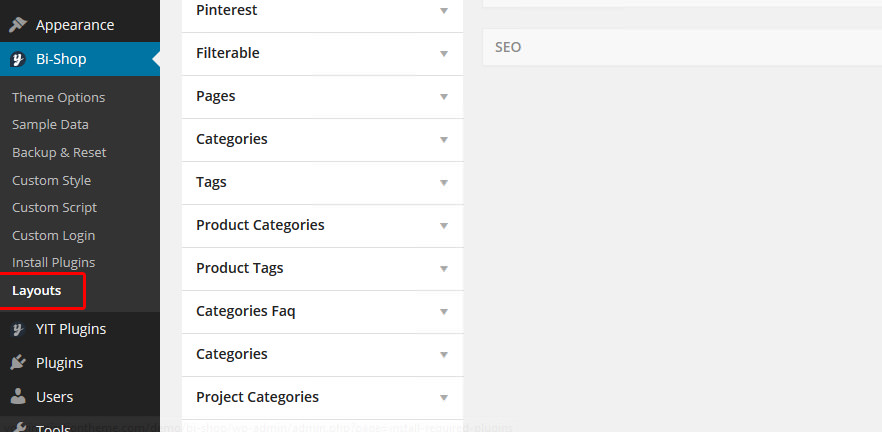
In this section you can make an advanced customization for each page, product page and post of the site.
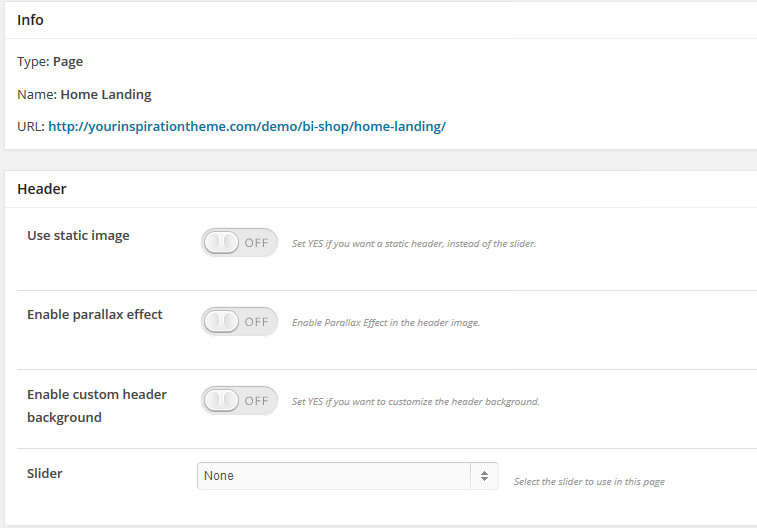
Select the page you want to customize and in the header panel you can set the slider of this page or set/upload a custom header. You can also set a parallax header and enter a text on the image.
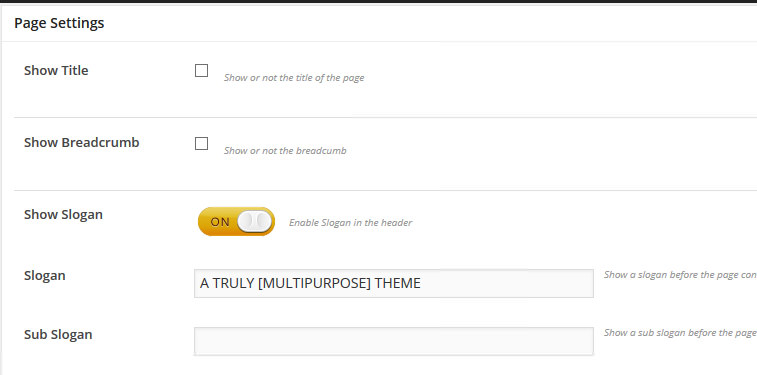
In the Page settings panel you can activate the title of the page and the breadcrumbs, add a slogan in the page:
In the Body background panel you can set the background color for the page or upload a custom image. You can also customize the color for the body of the site:
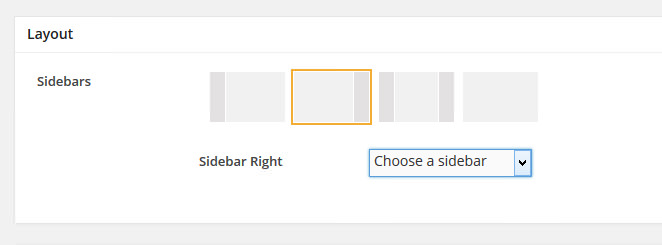
In the Layout panel you can set the page layout: choose if you want to add a sidebar to the page, set the sidebar position and choose the sidebar from the select.
In the SEO panel you can set the page title, a small description and some keywords to improve the SEO of this page.